Watermark - Tumblr Posts

Lord Tourettes in a sweater!!! :3
Some The Amazing Digital Circus fanart! :P

![Mista Daredevil Gives Queen Iceabelle Some Flowers :]](https://64.media.tumblr.com/ee62eb05035116563adc6151f3447ae0/9d4403287ef0c494-a1/s500x750/e6e8676157f0ff8630c55a1b220cecef136ee2ed.jpg)
![Pomni Wishes You A Merry Christmas, And A Happy New Year! : ]](https://64.media.tumblr.com/1abf65ace4f9d77dcf11c5cd8697f5be/0228dc8de8c47be9-b6/s500x750/33c4253c2d5de55c44ae94748618990763c46cdc.png)
Pomni wishes you a Merry Christmas, and a Happy New Year! : ]
Someone needs to punch me in the face and then yell at me to stop forgetting to put my watermark on my artwork 😭
Watermark changed
I have to tell you, just in case. I changed my watermark: from SD7 to MCD7
And you can, perhaps, come across my old works with an old watermark.
The color of the watermark can constantly change, this is the norm.


I need your help! Can anyone tell me if posting content with the tik tok watermark hurts my algorithm here in tumblr?
For example i learned that instagram will call your content low quality if it has a watermark from another application. Im wondering if it is the same here? 🤔

...that your audience won't hate.
This is a method I started using when NFTs were on the rise - thieves would have to put actual work into getting rid of the mark - and one that I am now grateful for with the arrival of AI. Why? Because anyone who tries to train an AI on my work will end up with random, disruptive color blobs.
I can't say for sure it'll stop theft entirely, but it WILL make your images annoying for databases to incorporate, and add an extra layer of inconvenience for thieves. So as far as I'm concerned, that's a win/win.
I'll be showing the steps in CSP, but it should all be pretty easy to replicate in Photoshop.
Now: let's use the above image as our new signature file. I set mine to be 2500 x 1000 pixels when I'm just starting out.
Note that your text should not have a lot of anti-aliasing, so using a paint brush to start isn't going to work well with this method. Just use the standard G-Pen if you're doing this by hand, or, just use the text tool and whichever font you prefer.
Once that's done, take your magic wand tool, and select all the black. Here are the magic wand settings I'm using to make the selections:

All selected?

Good.
Now, find a brush with a scattering/tone scraping effect. I use one like this.

You can theoretically use any colors you want for this next part, but I'd recommend pastels as they tend to blend better.
Either way, let's add some color to the text.

Once that's finished,
You're going to want to go to Layer Property, and Border Effect

You'll be given an option of choosing color and thickness. Choose black, and go for at least a 5 in thickness. Adjust per your own preferences.

Now create a layer beneath your sig layer, and merge the sig down onto the blank layer.


This effectively 'locks in' the border effect, which is exactly what we want.
Hooray, you've finished your watermark!

Now let's place that bad boy into your finished piece.

You'll get the best mileage out of a mark if you can place it over a spot that isn't black of white, since you'll get better blending options that way. My preference is for Overlay.


From here, I'll adjust the opacity to around 20-25, depending on the image.

If you don't have a spot to use overlay, however, there's a couple other options. For white, there's Linear Burn, which imho doesn't look as good, but it still works in a pinch.

And for lots of black, you have Linear Light

Either way, you're in business!
EDIT since this has escaped my usual circles, and folks aren't as familiar with my personal usage:
An example of one of my own finished pieces, with watermark, so you can see what I mean about 'relatively unobtrusive'-- I try to at least use them as framing devices, or let them work with the image somehow (or, at the very least, not actively against it).

I know it's a bummer for some people to "ruin" their work with watermarks, which is part of the reason I developed this mark in particular. Its disruption is about as minimal as I can make it while still letting it serve its intended purpose.
There's other methods, too, of course! But this is the one I use, and the one I can speak on. Hope it helps some of you!
Wolf girl!

Okay, so as you can see I made me a watermark! Not too big, not too small, and lowered opacity enough to see! How does it look?
...that your audience won't hate.
This is a method I started using when NFTs were on the rise - thieves would have to put actual work into getting rid of the mark - and one that I am now grateful for with the arrival of AI. Why? Because anyone who tries to train an AI on my work will end up with random, disruptive color blobs.
I can't say for sure it'll stop theft entirely, but it WILL make your images annoying for databases to incorporate, and add an extra layer of inconvenience for thieves. So as far as I'm concerned, that's a win/win.
I'll be showing the steps in CSP, but it should all be pretty easy to replicate in Photoshop.
Now: let's use the above image as our new signature file. I set mine to be 2500 x 1000 pixels when I'm just starting out.
Note that your text should not have a lot of anti-aliasing, so using a paint brush to start isn't going to work well with this method. Just use the standard G-Pen if you're doing this by hand, or, just use the text tool and whichever font you prefer.
Once that's done, take your magic wand tool, and select all the black. Here are the magic wand settings I'm using to make the selections:
All selected?
Good.
Now, find a brush with a scattering/tone scraping effect. I use one like this.
You can theoretically use any colors you want for this next part, but I'd recommend pastels as they tend to blend better.
Either way, let's add some color to the text.
Once that's finished,
You're going to want to go to Layer Property, and Border Effect
You'll be given an option of choosing color and thickness. Choose black, and go for at least a 5 in thickness. Adjust per your own preferences.
Now create a layer beneath your sig layer, and merge the sig down onto the blank layer.
This effectively 'locks in' the border effect, which is exactly what we want.
Hooray, you've finished your watermark!
Now let's place that bad boy into your finished piece.
You'll get the best mileage out of a mark if you can place it over a spot that isn't black of white, since you'll get better blending options that way. My preference is for Overlay.
From here, I'll adjust the opacity to around 20-25, depending on the image.
If you don't have a spot to use overlay, however, there's a couple other options. For white, there's Linear Burn, which imho doesn't look as good, but it still works in a pinch.
And for lots of black, you have Linear Light
Either way, you're in business!
EDIT since this has escaped my usual circles, and folks aren't as familiar with my personal usage:
An example of one of my own finished pieces, with watermark, so you can see what I mean about 'relatively unobtrusive'-- I try to at least use them as framing devices, or let them work with the image somehow (or, at the very least, not actively against it).
I know it's a bummer for some people to "ruin" their work with watermarks, which is part of the reason I developed this mark in particular. Its disruption is about as minimal as I can make it while still letting it serve its intended purpose.
There's other methods, too, of course! But this is the one I use, and the one I can speak on. Hope it helps some of you!

OH MY GOSHHHHH RRHRHRHHEHE THESE ARE SO CUTTEEEE I ABSOLUTELY LOVE THE VIBE YOU GAVE MEEEEE 💕💕💕💕💕🫶🫶🫶
Making random custom watermarks for ppl😝 (2!)
\(^o^)/

@cutechan555 - 🫧 very bubbly ragghh!!! \(>o<)ノ

@woobab - I tried to give it like a alien-ish type but it went more like jellyfish but oh well! ^_^ 🪼

@yo-kai123 - (*´∀`") man, I should practice more on horror/ gothic inspired watermarks..🕸️
(I based it off the colors and the vibes of the blog itself!)


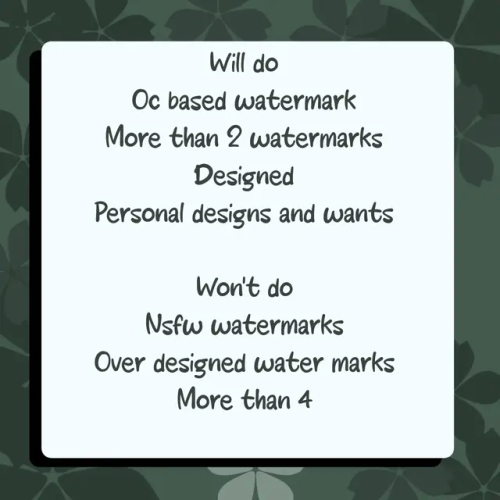
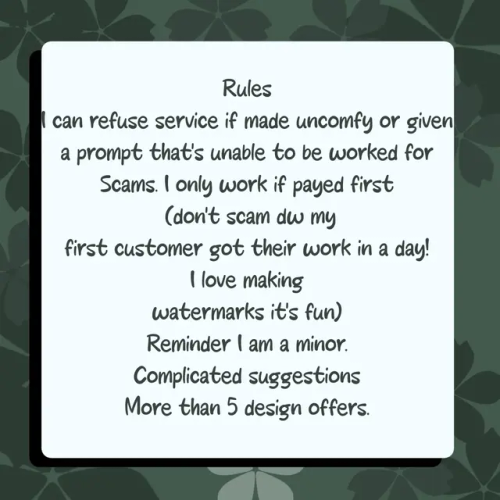
Heres the commisions! Sadly i cannot pin them
Hopefully I'm able to get more :3
Dont worry about scamming
I feel bad when i take from someone (horribly) and my first customer got theirs in a day! It didn't take very long, ill make sure your money is worth it !