
𓆝 𓆟 𓆞 𓆝 𓆟 what color is the spatial infinity? it is the color of air. 𓆝 𓆟 𓆞 𓆝 𓆟
221 posts
Another Picture Editing Tutorial!
Another picture editing tutorial!

I’ve always wanted to do this! So I thought that now was the time :D
Things you’ll need for this tutorial
The Sims
A picture you want to edit (make sure the lightning is good. I can use a lot of time finding the right lightning for the sims - it often changes depending on the skin they’re wearing)
Photoshop (I use CS4)

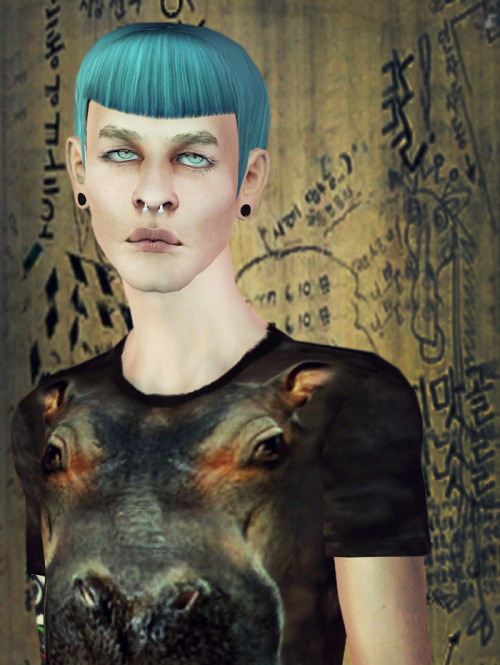
So, here you go; the raw, unedited picture of my latest Jake Gyllenhaal-inspired sim. Some might like it that way but I simply can’t let myself post anything without editing it first. It’s like make up; when first you’ve begun wearing it, you feel you look like a pig without it.
STEP 1: Light up the face

Use the Dodge tool to light up parts of his face that naturally “sticks out" - like cheeks, nose, forehead and chin. I also light up a part of his neck - mostly his adams apple and his hand and arm.
STEP 2: Curves tool

Use the curves tool to get a more (in my opinion) realistic color as well as lighten the picture up a bit. I’ve used these ajustments on the right. As you can see, I don’t make a lot of changes in them because I don’t want it to be too extreme. I use the RGB to lighten up the picture, the red to make the picture less redish, the green to add a little green in the picture and the blue to make a very little cross-process effect.
STEP 3: Sharpen the picture

First, I sharpen parts of his face with the sharpen tool, not very much, just slightly to make the structure a little more outstanding: just the lips, eyes and (sometimes) eyebrows.
After that I sharpen the whole picture with the unsharp mask tool - also just a little bit so it will not be too “harsh" to look at.
STEP 4: Shadows

Use the burn tool to shadow parts of his face as well as his clothes. I think it gives more depth to the picture as well as it makes it look more realistic when shadows are falling at his face at some point.
I also use the burn tool to darken around him - it makes the sim more conspicuous, I think.
STEP 5: Highlights

We’re near the end now - again, I’m using the dodge tool to lighten up the other half of his face. Just as I said in the last step, it makes the picture look more like a real picture.
STEP 6: New color layer

(I didn’t take a picture for that part since I’m finished with the picture after that)
I make a new layer and fill it with a slightly blue color (the color can be any color - I just want the picture to be a little cold to look at) I make it Overlay and scale the opacity down to 25%
Aaand I think I’m done!

This is definitely not the same routine I do to all my pictures - sometimes I edit less, sometimes more. I could have done more to this but I liked how it came out and basically that’s just what you have to think. Don’t be bound to a specific routine because all pictures look good in different lights, colors and styles.
- Or well.. that’s just my opinion :)
-
 soulful-simmer liked this · 11 months ago
 -
 brrgursims liked this · 2 years ago
 -
 damseljamsel liked this · 2 years ago
 -
 peonybooks liked this · 2 years ago
 -
 fugusim liked this · 2 years ago
 -
 sonjaren liked this · 2 years ago
 -
 ronuyu liked this · 3 years ago
 -
 saintfinds liked this · 4 years ago
 -
 hernameisjamiex3 reblogged this · 4 years ago
 -
 sims3biatch reblogged this · 4 years ago
 -
 sim3bitch liked this · 4 years ago
 -
 dgandreed liked this · 4 years ago
 -
 nilonne-ccfinds reblogged this · 4 years ago
 -
 tysheal liked this · 4 years ago
 -
 moonsolarisfinds liked this · 4 years ago
 -
 emifindscc reblogged this · 4 years ago
 -
 kawaiigamingfoodbat liked this · 4 years ago
 -
 thisfuckingdeadlife reblogged this · 4 years ago
 -
 tarihsims liked this · 5 years ago
 -
 akithedumbass liked this · 5 years ago
 -
 asimofmanyhats liked this · 5 years ago
 -
 berryique liked this · 5 years ago
 -
 tala-cc-finds reblogged this · 5 years ago
 -
 talasims liked this · 5 years ago
 -
 generousambitioushungry liked this · 5 years ago
 -
 forgetfulsimmer liked this · 5 years ago
 -
 novac liked this · 5 years ago
 -
 noxioussims reblogged this · 5 years ago
 -
noxioussims liked this · 5 years ago
-
 misunderstoodeagleunbreakable liked this · 5 years ago
 -
 ispys3cc reblogged this · 5 years ago
 -
snowcat120 reblogged this · 5 years ago
-
snowcat120 liked this · 5 years ago
-
 nimbynimb liked this · 5 years ago
 -
 musthavesims liked this · 5 years ago
 -
 lalagivemesomeadvices reblogged this · 5 years ago
 -
 aspidistrasims liked this · 5 years ago
 -
 rachel-homeanddesign-sims liked this · 5 years ago
 -
snowcat120 reblogged this · 5 years ago
-
 tetrakarm liked this · 6 years ago
 -
 aprilrainsimblr liked this · 6 years ago
 -
 yuruyurux liked this · 6 years ago
More Posts from People-without-brains

nooooooooo, i want one of your sims okay can you explain how do i get them on my game if i have a macbook??
(making public because it could be useful for others)
Well you've come to the right person because I'm on a macbook as well :) Actually, .sim files are lot easier to deal with because the only thing you have to do is place the .sim file in your Saved Sims folder (which you'll find in Documents -> Electronic Arts -> The Sims 3)
None of the CC on the sim will be included in a .sim file therefore you have to download that yourself (or at least what is necessary like the skin and eyes and hair maybe). The CC you don't have in your game as well will be replaced by EA basegame stuff. Except from the skin - if you've downloaded a sim with a non default skin and you don't have the skin in your game, the sim will turn black. Sometimes it also happens even if you have the skin installed but then you'll just have to choose the skin again and push the Remade sim button to get it normal again!
I hope I could help!
!!!!!!
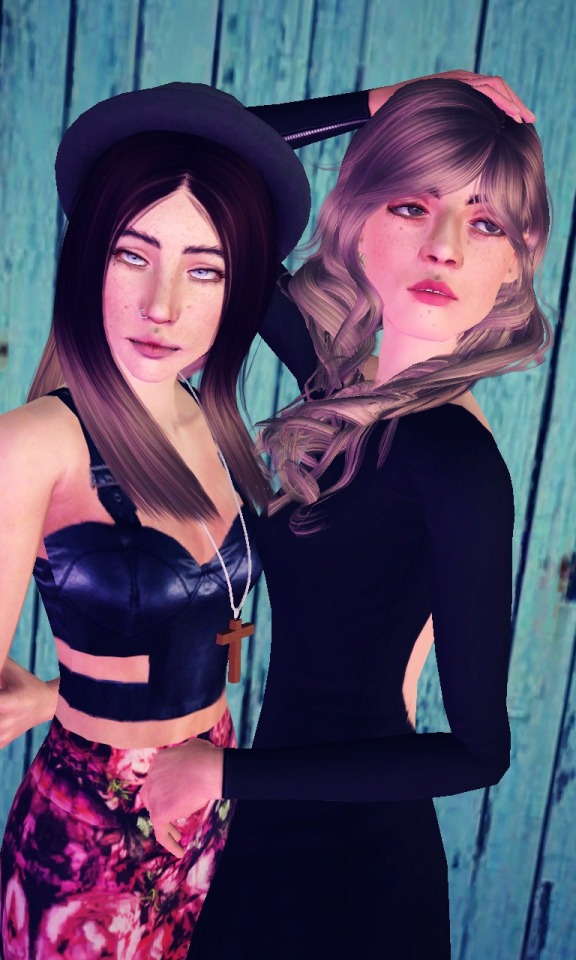
Our gals together <3