aka @rmgrey-author | Rowan Grey • writer • graphic artist • mix maker • tutorial maker • ABSOLUTE STEREK TRASH • multiship af
441 posts
Hi, It's The Previous Anon Here, I Would Honestly Love A Tutorial, But Unless You Don't Do All Your Aesthetic
Hi, it's the previous anon here, I would honestly love a tutorial, but unless you don't do all your aesthetic posts the same way, I guess you can make the tutorial on any one of them. I do have this link that I was also really interested in knowing how you made; "lycaens-tumblr-com/post/149468976315/disconnected" (replace - with .) thank you!
Well I did do a tutorial of the SPN picspam here. That should help you with aesthetic picspams since a lot of those pictures needed some serious toning to fit in with the color scheme. If that’s not good enough I can make a more complex aesthetic spam tomorrow probably. Been meaning to make one anyway.
****Here is the aesthetic tutorial.
And here is the tutorial for the Disconnected graphic/gif.
More Posts from Lycaens

Just wanted to ask you how you make your aesthetic boards, like how you choose the pictures and where you get them from, and where you get your ideas from.. you make so many of them and so well, just curious to know what your process is.. i have no intention of copying you or anything, (also i have like 0 talent) but just wanted to know, thanks!
I will work on a tutorial for you; as for places to get pictures, I grab stuff from Pinterest and WeHeartIt. If you have a specific picspam I made in mind that’d help me make a tutorial for you.
AESTHETIC PICSPAM TUTORIAL
Another tutorial! And it’s another requested one from an anon; they wanted a tutorial on how I make my aesthetic picspams.
PROGRAM: Photoshop CS6, DIFFICULTY: Medium
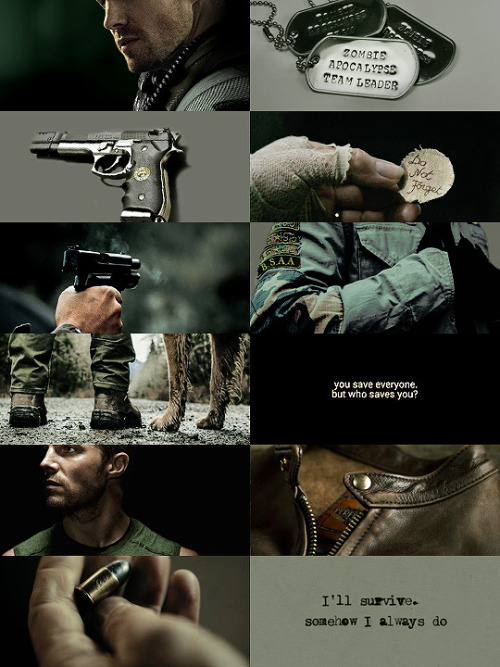
I will be showing you how to make this specific picspam:
Now the first thing you’ll need is a good template. I either make my own, or download them online. Templates can be downloaded here; and an all around great place for resources is chaoticresources. Here is the template I used for the spam:

The first image I used was of Chris Redfield, a render of a 3D model by ceriselightning.
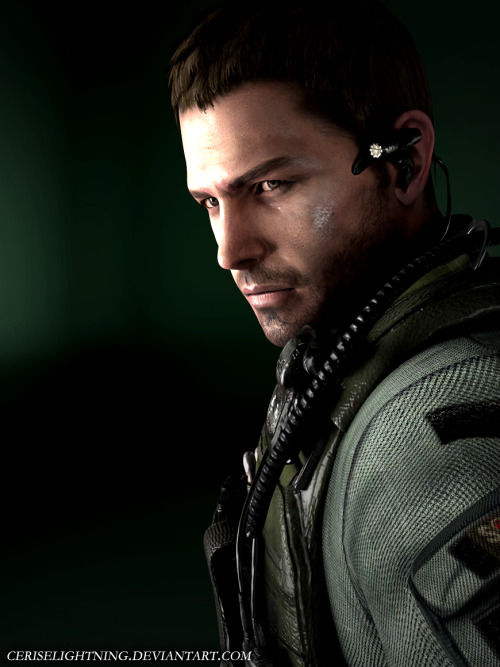
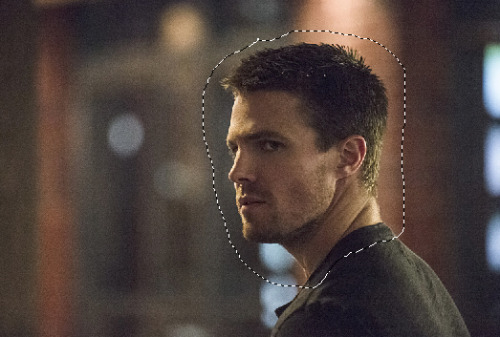
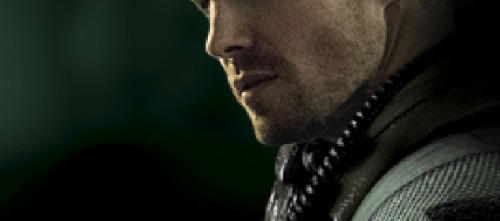
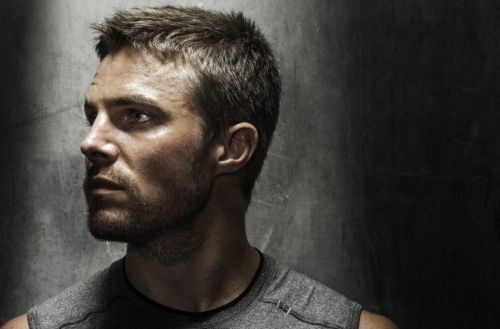
I cropped it down and resized the image to 270x120 to fit the picspam. Now open up a picture of the gorgeous Stephen Amell.
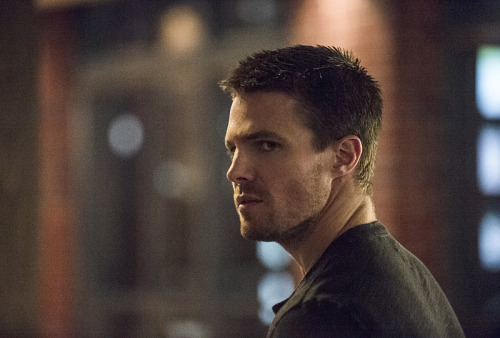
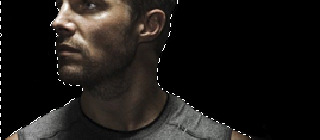
I used the lasso tool to cut out the parts I knew I wouldn’t need. Here is the selection:
Now move it over to the template, and mask the image.
I went ahead and erased the parts I didn’t need; then cropped it to fit with the image of Chris.
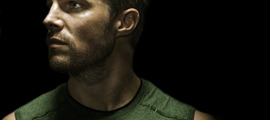
Now select Stephen’s face layer (right click the box and choose ‘add mask to selection’) and make a Color Balance adjustment. Midtones only, -12, +8. +3. Then a Selective Color, blacks +17.
I also put a new layer on top and used a soft brush, black color and carefully filled in some of the right side.
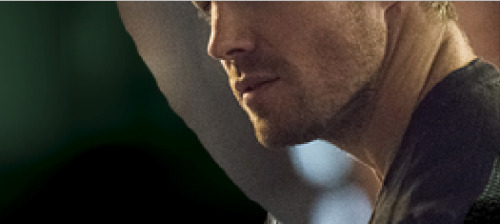
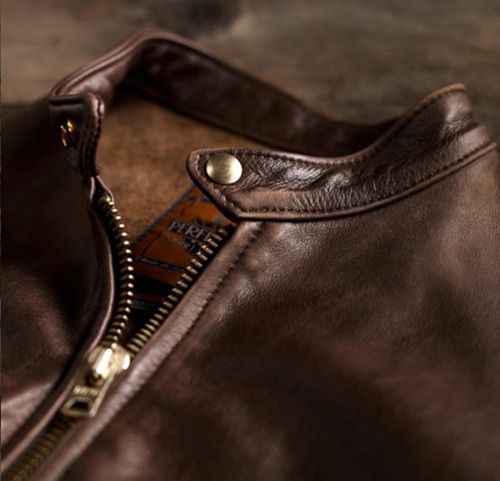
Next open the image below.
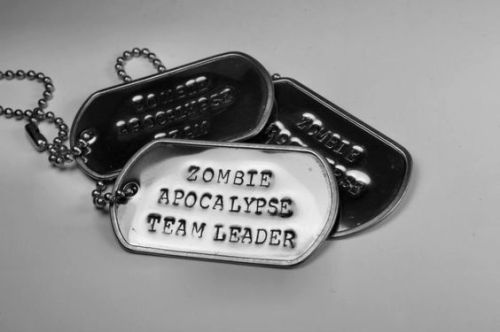
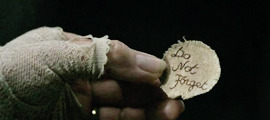
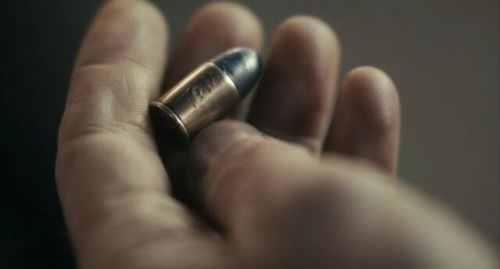
This one was super easy, just crop and recolor; start with a Gradient Map (48% opacity)
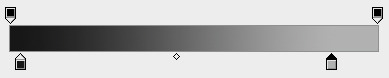
(#101010, #b3b3b3)
Next a Curves; 125, 104. Then Color Balance, +13, +17, -8 (midtones). Last a Levels, this time paint over everything but the face of the dogtag. (0, 1.00, 255, 0, 204)
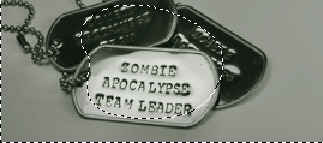
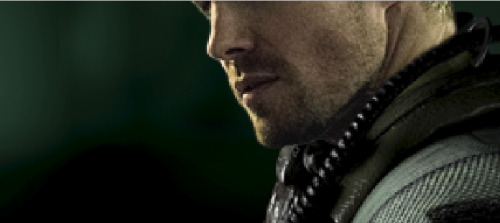
And here’s the finished picture.
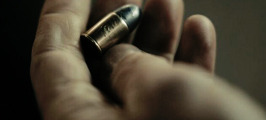
I could not for the life of me find 2 of the images; this one is the first one, so it’s already cropped and I erased the background from the original with a cool grey tone.
Then I added a Curves; 124, 99. Then a Color Balance, +8, +12, -3 (midtones)
Next picture:
Again, this was just a matter of toning it to match the color scheme of the picspam. Now add a Curves; 150, 84. Then a Color Balance, +12, +15, +2. (midtones) Lastly, a Selective Color blacks +19.
The next one is literally the easiest one, because it is the second image I could not find again. However, I actually didn’t have to do anything to it. It already had the perfect coloring.
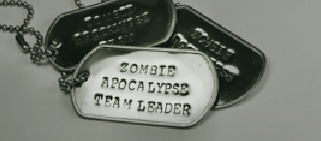
Here’s the next one:
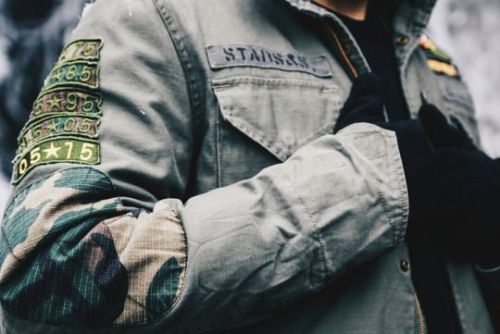
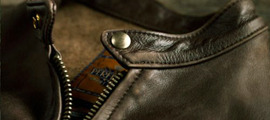
Make a new blank layer on top of the image, and use this color #303a23 to paint over the 05 * 15 on his sleeve.
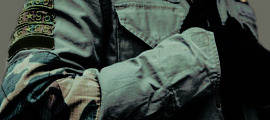
Then make another blank layer and fill in the background with this color #6f7167.
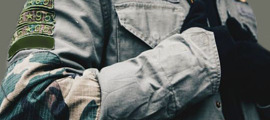
I made a Selective Color next, WHITES; +83, -4, +28, +14. BLACKS, -4, 0, 0, +51. Then a Levels, but I masked it so it didn’t touch the background. These settings, 0, 0.72, 255 (top) 0, 229 (output).
Next I found a B.S.A.A logo on Google, and used the warp and transform tools to put it on the patch over his arm.
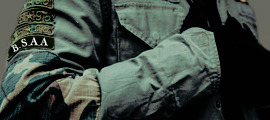
I decided to color it green (#89a867), and used a Color Balance to tone the logo a little more. Midtones, +22, 0, -64.
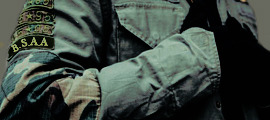
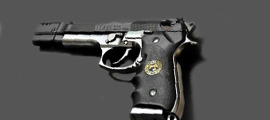
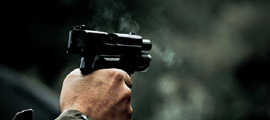
Next this picture:
First off, a Selective Color. REDS, -15; YELLOWS, +36, BLACKS +50.
Now a Color Balance (midtones), -13, +15, -10. Hue/Saturation next, -32 saturation.
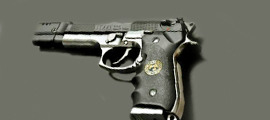
This one all I had to do was crop it.
Another picture of Mr. Amell ^^
For this one, make a blank layer and fill in the background with black. I used a round brush at about 60% hardness and solid black and painted.
Next another blank layer, this time use a green color (#7ea973); and use your brush to paint the shirt. I set the blend mode to multiply, 79% opacity. For the full image, a Color Balance (midtones); +12, +15, -3.
Selective Color next, BLACKS +9. YELLOWS, -15, +15, -26, -29.
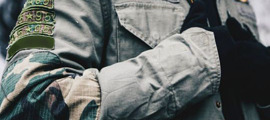
This one just needs a Color Balance (midtones), -17, +6, -10.
This needs some toning; Selective Color, BLACKS +26. Color Balance, midtones again; +5, +9, 0.
Last one!
Color Balance, +9, +36, -10 (midtones); now make a blank layer, blend mode as color and use this to fill it in #7ea973. Selective Color, BLACKS +30. Now a Levels, 0, 0.89, 255, output 0, 134.
Last but not least you should have had all of the images on the template; if not move them over now, and then stamp the image (ctrl+alt+shift+e). And sharpen; Filter > Sharpen > Smart Sharpen, Amount 500, Radius 0.3. Remove Gaussian Blur, make sure More Accurate is ticked.

And you’re done! As always, enjoy and I hope this helps you make some cool aesthetics.


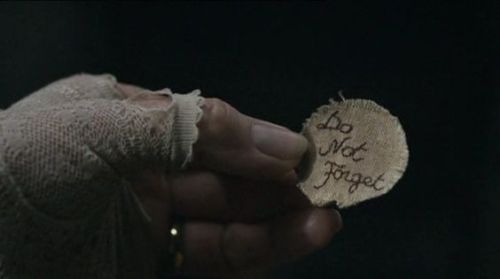
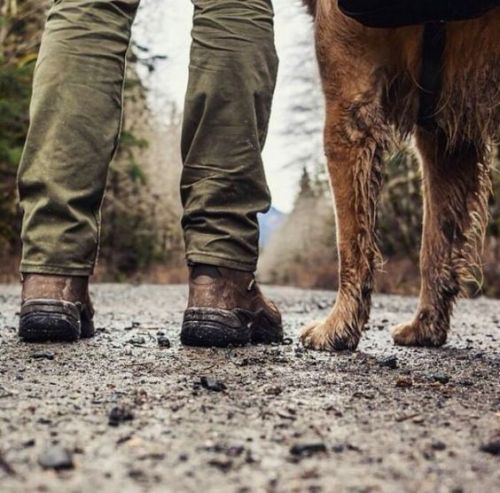
STEREK WEEK 2016: Day 6 - Wolf!Derek
After Derek turns feral and runs off in his wolf form, Stiles follows him into the woods.
“I’m going to bring Derek back! I have to!”