
just a blog to store cool gif tutorials and resources <3 thank you to all creators!
182 posts
Coloring Tutorial
Coloring Tutorial
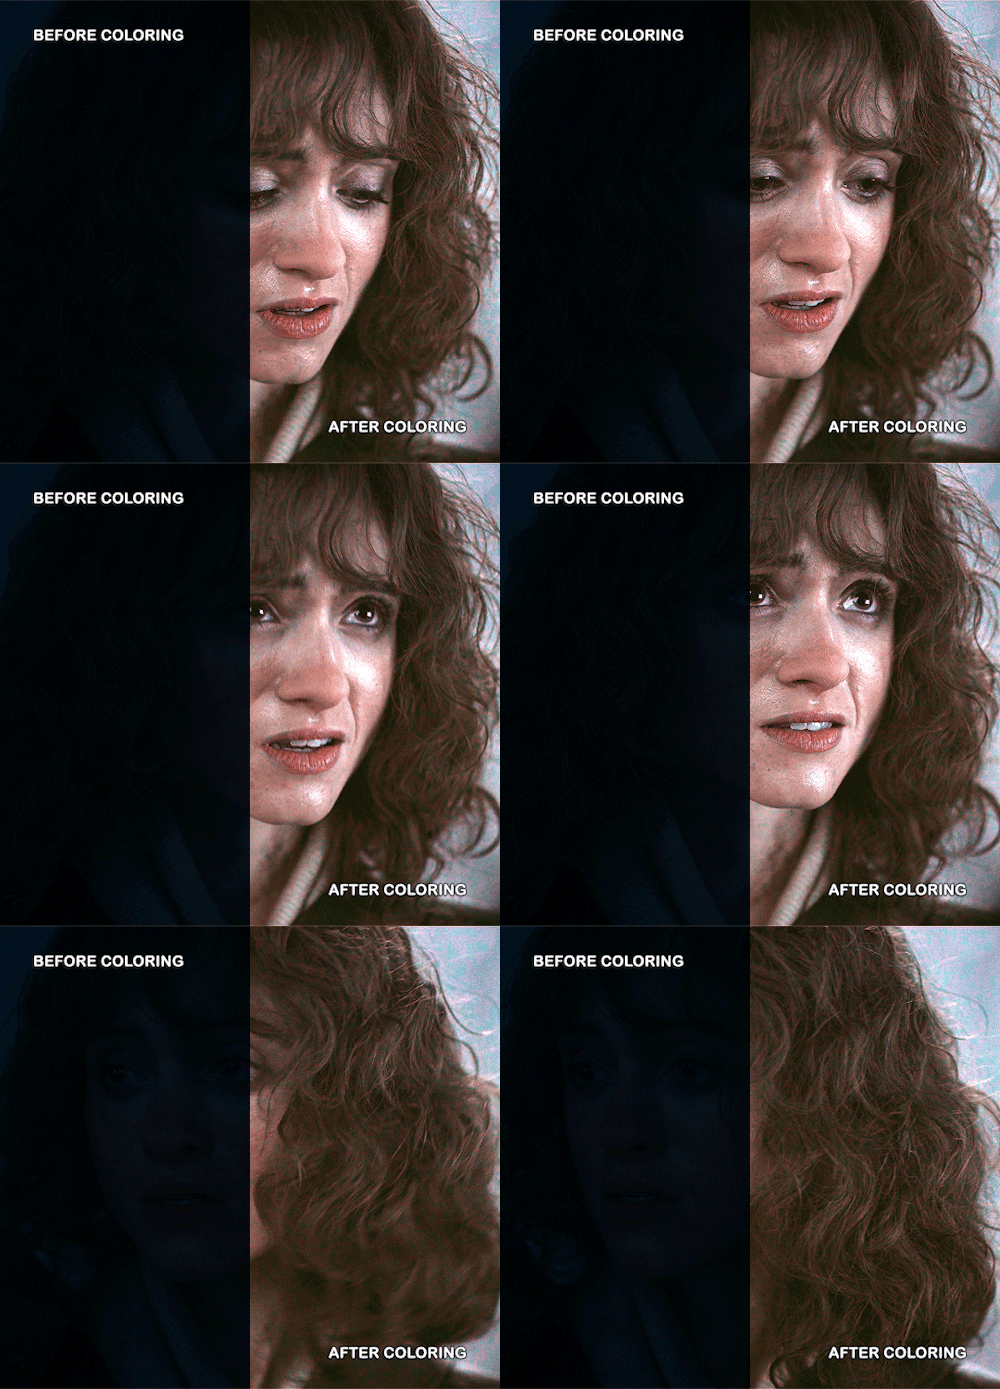
Hello, this tutorial is for the wonderful @djoharrington and those of you wondering how I colored this set. I’m going to be talking about how to color the first gif only to keep this tutorial from getting too long. The other two used the same coloring method with only minor adjustments made to keep them looking similar.
Yes, this scene really is that dark before coloring.
Quick notes on what I’m using:
mpv player for screencapping — not mentioned in tutorial
Photoshop 2021 for editing
I mention mpv player because I’m giffing 4k, and it’s one of the few players I’ve come across that take continuous caps that don’t end up looking washed out. It makes for easier coloring.
Keep reading
-
 resource-source reblogged this · 8 months ago
 -
 tetrafelino reblogged this · 8 months ago
 -
 tetrafelino liked this · 8 months ago
 -
 cheer-me-up-scotty reblogged this · 8 months ago
 -
 mysteryandnonstopfun reblogged this · 8 months ago
 -
 mysteryandnonstopfun liked this · 8 months ago
 -
 cathedralstudios liked this · 8 months ago
 -
 armand-deromanus liked this · 8 months ago
 -
 jessicahiden liked this · 8 months ago
 -
 grunblrkj liked this · 9 months ago
 -
 buckystilinski liked this · 9 months ago
 -
 grace-of-creation reblogged this · 9 months ago
 -
 grace-of-creation liked this · 9 months ago
 -
 zhivchik liked this · 9 months ago
 -
 yuhewei reblogged this · 9 months ago
 -
 beast-of-bucharest liked this · 9 months ago
 -
 arosresources reblogged this · 9 months ago
 -
 misssylvertongue liked this · 9 months ago
 -
 thenameswinter99 liked this · 9 months ago
 -
 cxlebra liked this · 9 months ago
 -
 geminindex liked this · 9 months ago
 -
 welcometocaritas liked this · 9 months ago
 -
 jacaerysvelaryonn reblogged this · 9 months ago
 -
 majesdane liked this · 9 months ago
 -
 roxit0nic reblogged this · 10 months ago
 -
 roxit0nic liked this · 10 months ago
 -
 moodycornflakes liked this · 10 months ago
 -
 helpmydogg liked this · 10 months ago
 -
 regalshenanigans liked this · 10 months ago
 -
 10-percent-expected-rainfall reblogged this · 10 months ago
 -
 sanswstrk liked this · 10 months ago
 -
 desmeras liked this · 10 months ago
 -
 matthew-macfadyens reblogged this · 10 months ago
 -
 jasperatedd reblogged this · 10 months ago
 -
 wwillywonka liked this · 10 months ago
 -
 is-on-its-way liked this · 10 months ago
 -
 causalityparadoxes reblogged this · 10 months ago
 -
 causalityparadoxes liked this · 10 months ago
 -
 tea-earl-grey reblogged this · 10 months ago
 -
 nachosncheezies reblogged this · 10 months ago
 -
 nachosncheeze liked this · 10 months ago
 -
 bakedbakermom reblogged this · 10 months ago
 -
 lonely-night reblogged this · 10 months ago
 -
 wardengrill liked this · 11 months ago
 -
 arosresources reblogged this · 11 months ago
 -
 vendriin liked this · 11 months ago
 -
 thatisinteresting liked this · 11 months ago
 -
 littleironi liked this · 11 months ago
More Posts from Joshiemakesgifs

alright someone asked me a few weeks ago how i colored my gifs to make them colorful like this so i thought would make a simple tutorial on it! it's a relatively simple process and also assumes you know how to make gifs, including basic coloring.
before we get started, it's important to note that scene selection is the most important thing here and could make or break the way you color your gif. i highly recommend scenes/videos with cyan/blue-ish backgrounds (or even gray bgs with cool tones) as they don't interfere with skin tones and therefore will be much easier to color.
now that you've picked your scene, go ahead and make your gif how you normally would, but limiting the coloring to just the basics (aka lighting and color-correcting). here's how mine turned out:

and then the fun part begins! first, we're gonna make a new selective color layer and crank up the blue & cyan layers to make the colors really pop. i find that doing this first before doing anything else makes the colors more vibrant. here's how mine looked like, but you're free to move the sliders whichever way you want as long as you end up with a pretty even cyan or blue base to work with.

after that we can go ahead and add a hue & saturation layer. go into the cyan or blue tabs (or both depending on which colors show up in your gif, in my case mine is predominantly cyan with some blue shadows) and move the hue sliders to whichever color you prefer! you can play around with the saturation and lightness sliders too, but i was already satisfied with how the color turned out.

you can choose to stop here, but if you think it still needs a bit of color correction (especially if you have a subject whose skin tone needs a bit of fixing), go ahead and do that! here's how mine looks after that:
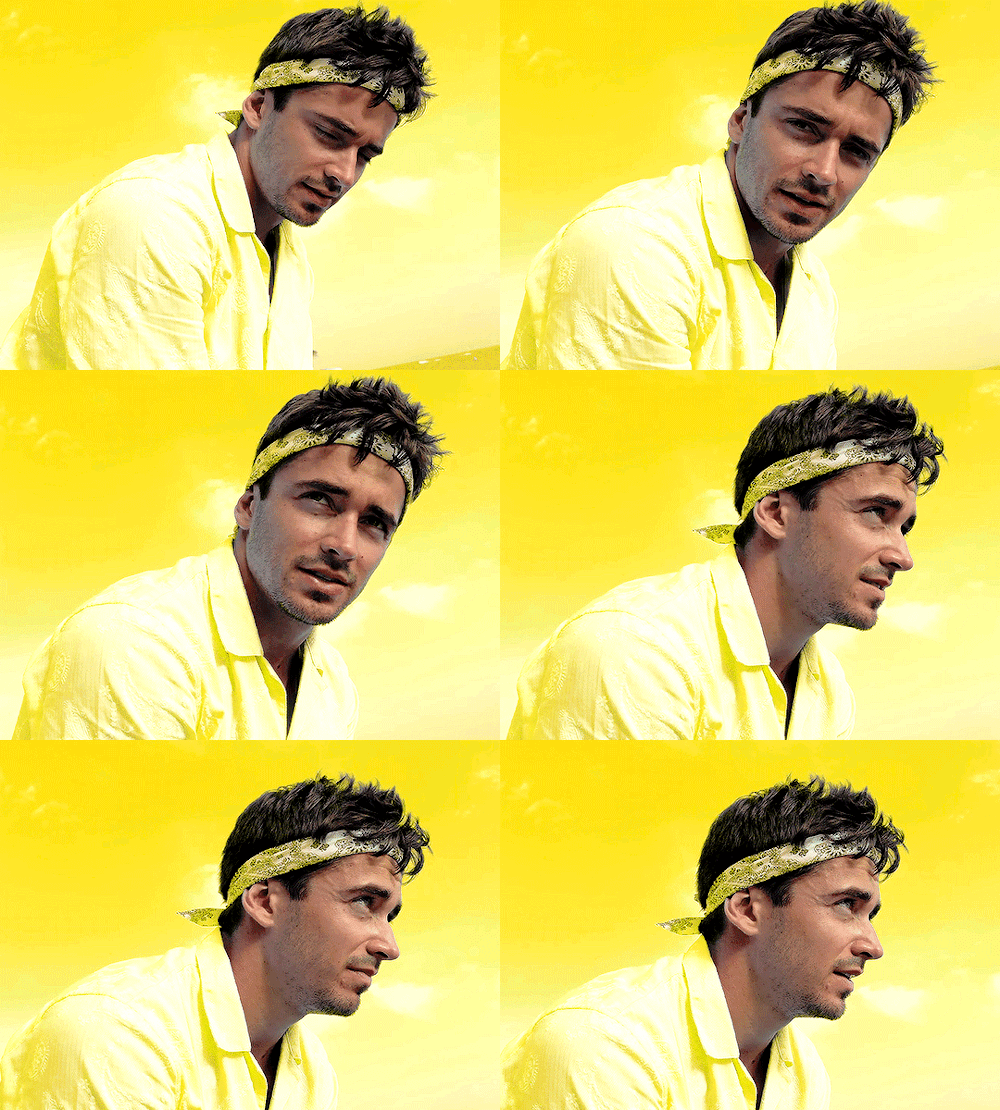
aaaand that's it! easy peasy. here are a couple more examples using the same process across different media:

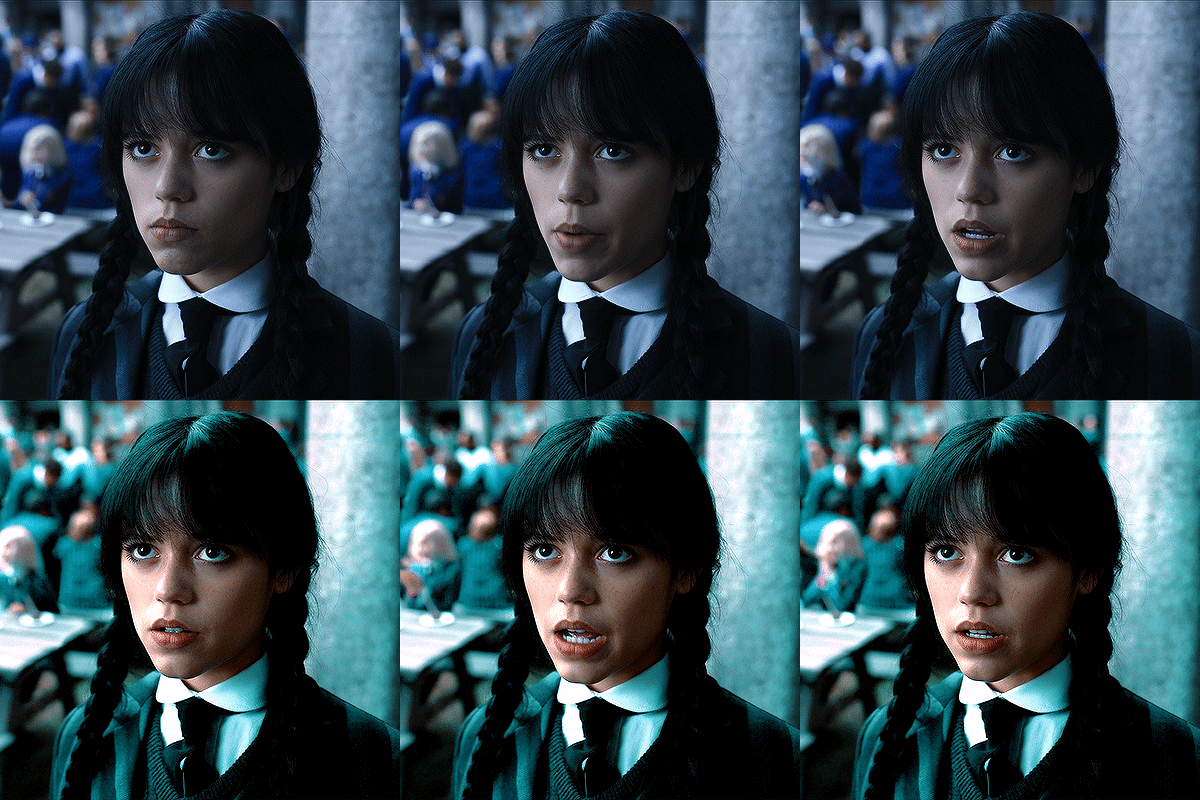
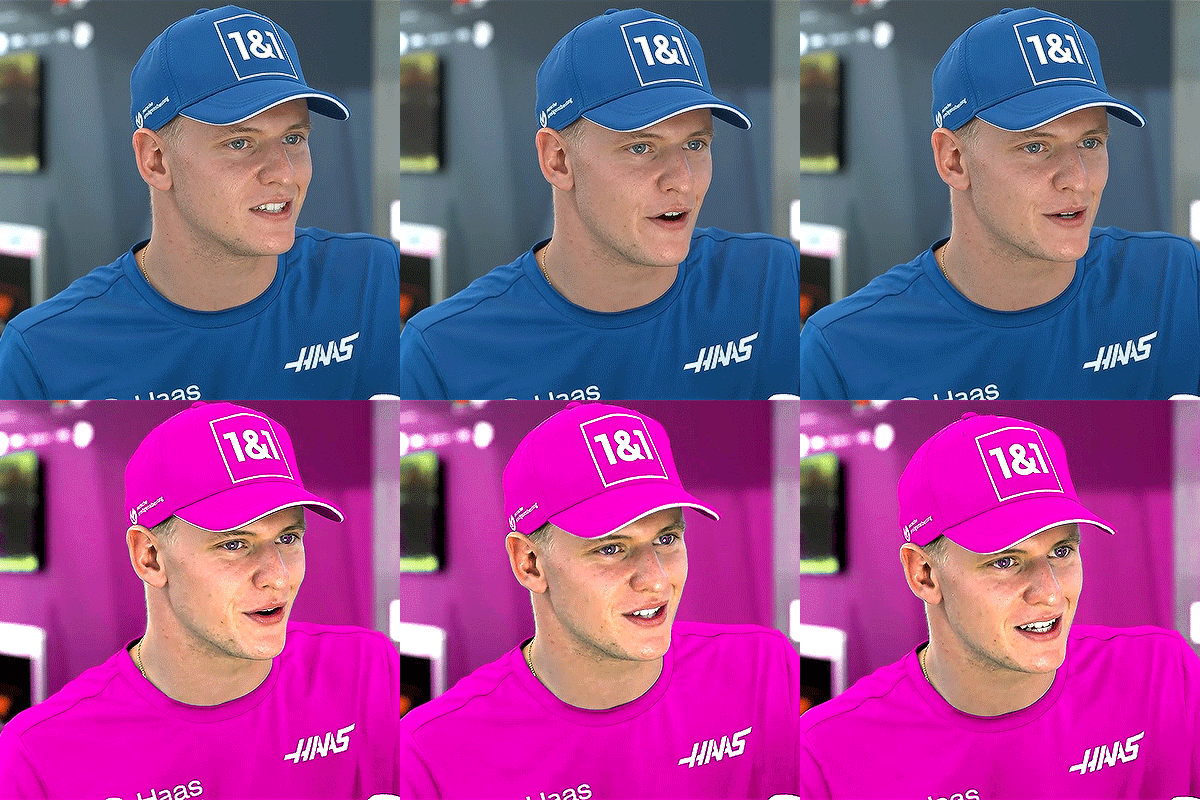
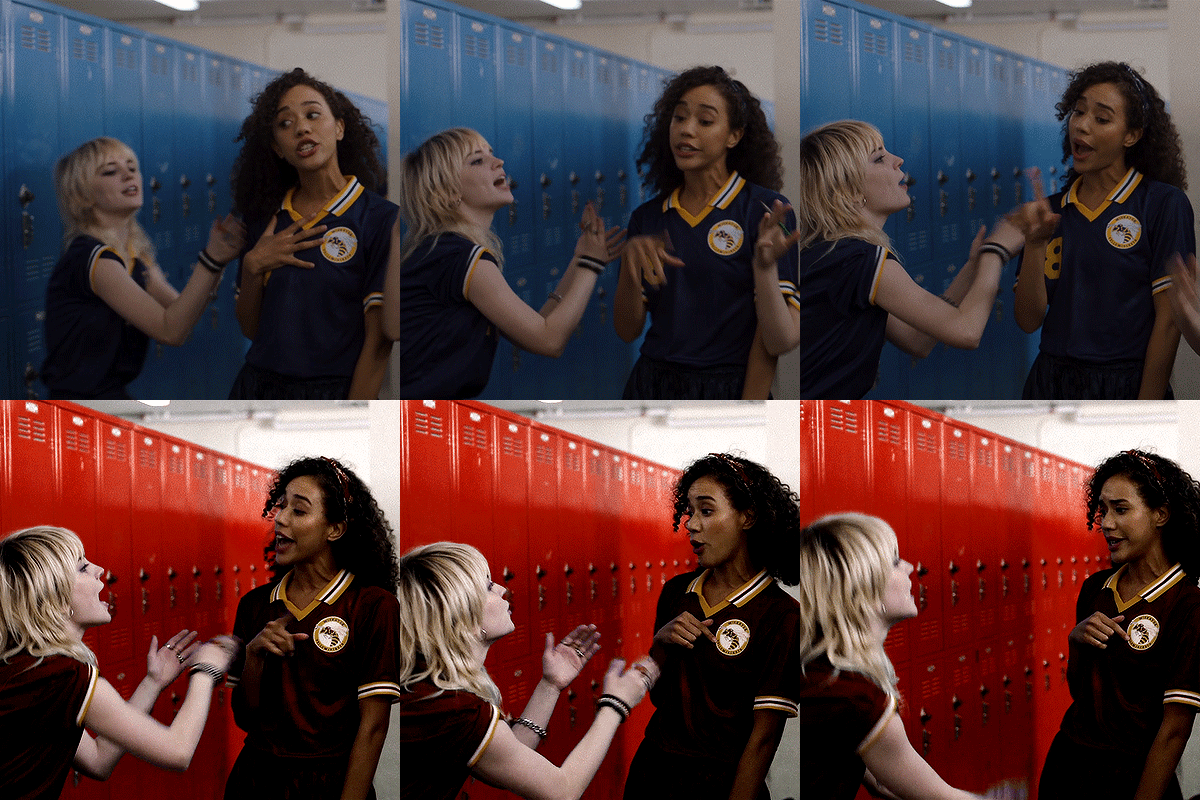
i hope this made a bit of sense and is helpful, and if you have any questions don't hesitate to ask! 💗
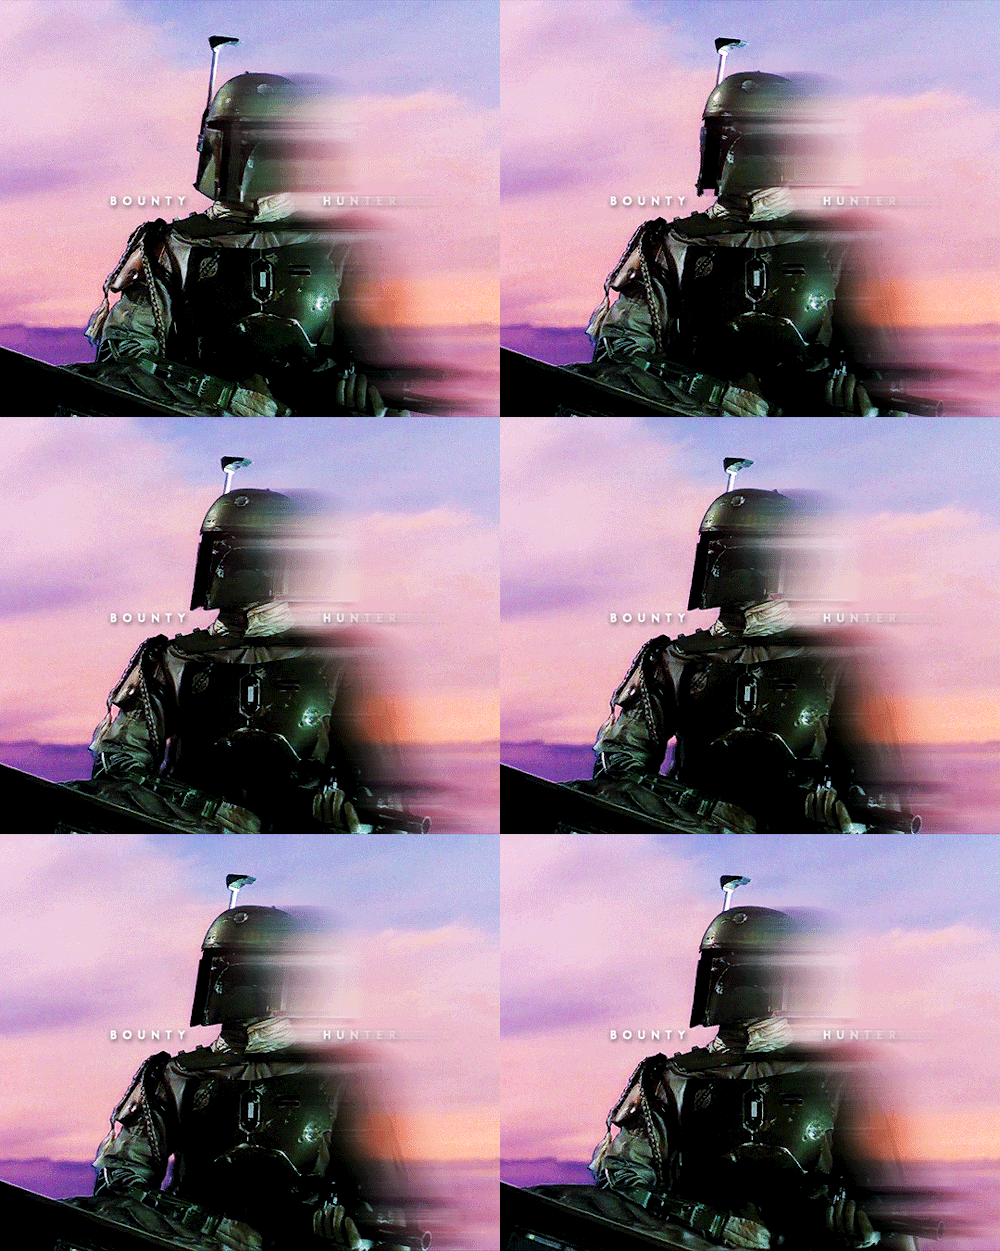
Motion Blur Gif Tutorial
Anon asked how I created the motion blur effect in the first gif in this Boba Fett gifset, so here’s a 5-step tutorial. It’s very, very easy but also very late/early and I suck at explaining things like this so I hope it’s clear!
What you’ll need:
Basic gif-making knowledge using the video timelines method (this won’t work with frame-by-frame animation)
I’m using CC 2020, but any version of Photoshop that has the timeline option will work
Tip: This effect works better on gifs with minimal movement
Keep reading
Hi first of all I’m in love with your gifs and your coloring 💖 , may I ask how you did the typography on your Peter Parker set with the red coloring? Thank you so much in advance! 🧡
hiiiiiiii you've made my entire week, just so you know 🥺🥺❤️ and yes! bear with me because it's my first ever walk-through/tutorial/whatever you wanna call it lmao SO pardon the screenshots if they're wack 💀 i'll put it all under the cut, hope it makes sense & if it doesn't don't hesitate to send me an ask like tf was that you rambled and made zero sense, i'd probably agree with you lol i’m basing this off of these two gifs i’ve done where the text is “revealed” by movement of a subject in the foreground.
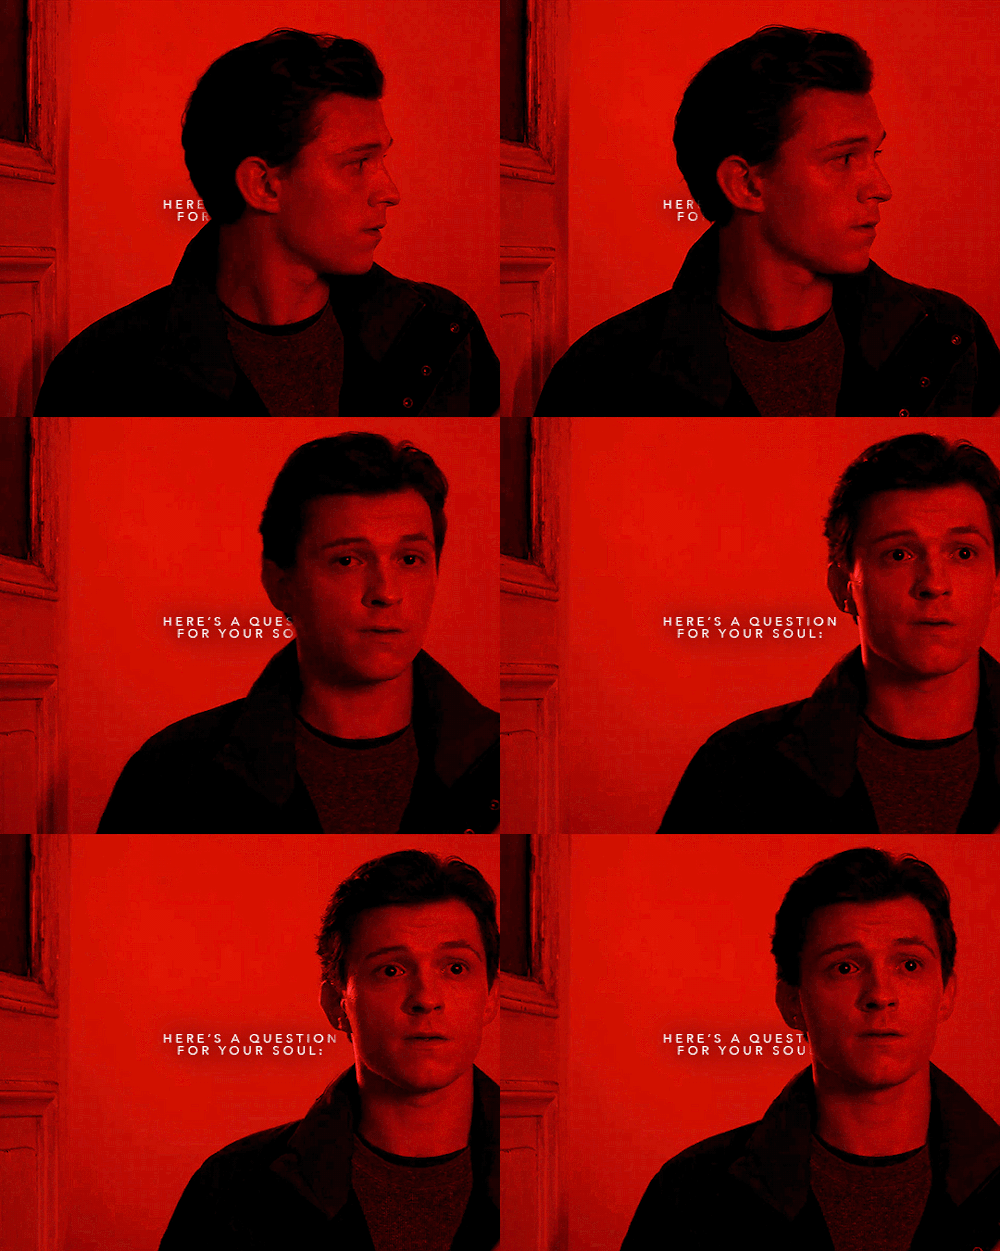
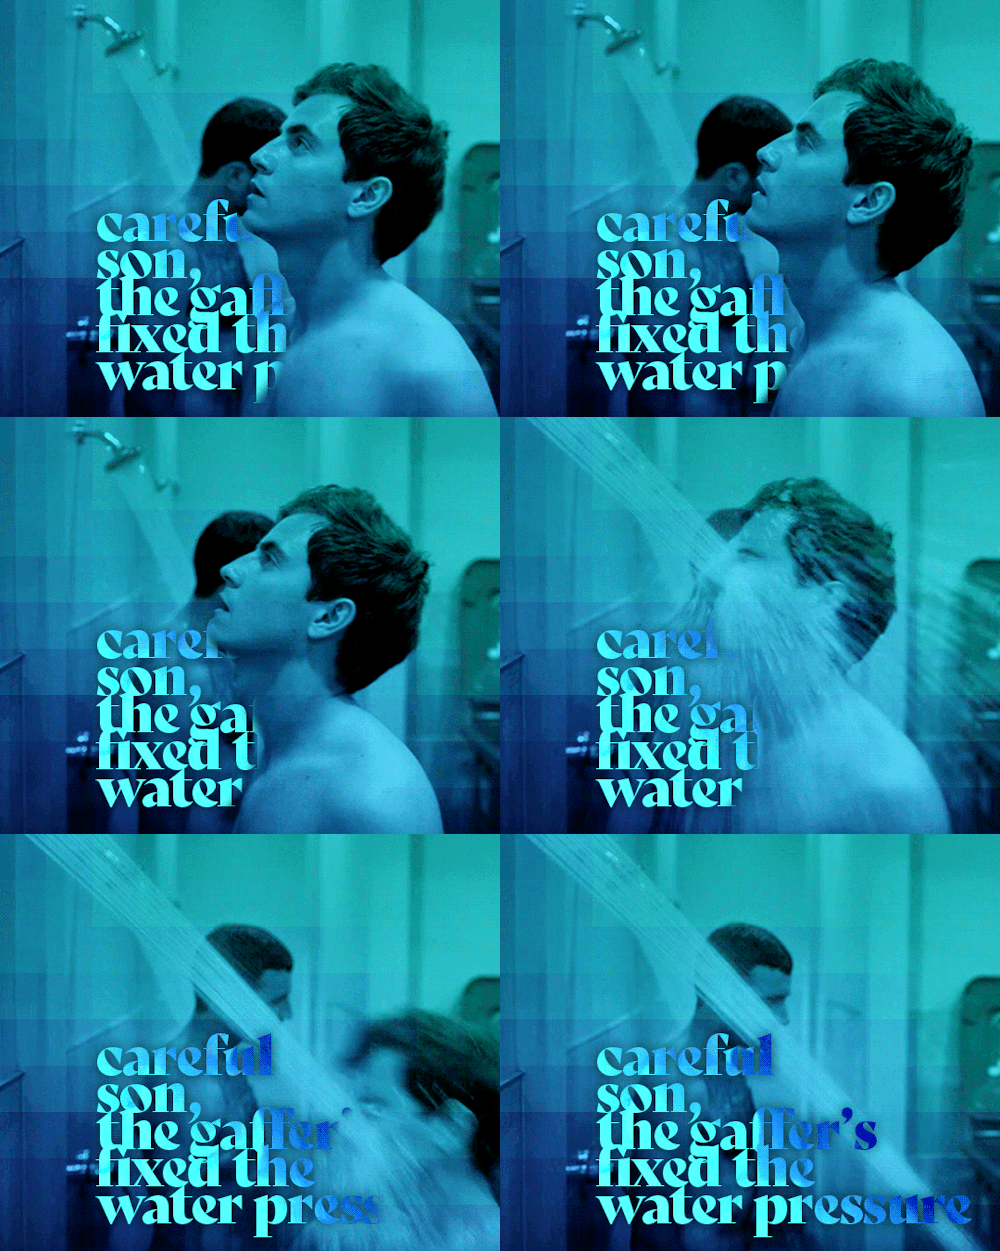
text reveal in a gif!
so first off, i use video timeline in PS as opposed to frame animation timeline; hence, if you use frame animation to make your gifs i'm not sure if this will translate over exactly the same and i do apologize if that's the case!
i've done this twice now & love it because it's actually way easier than i ever imagined it to be 😂 what it boils down to is creating a layer mask that is not locked to your text layer & changing said position of that mask at various time points/keyframes of your gif!
first, create your text layer with whatever font, drop shadow, gradient overlay, blending setting, etc. that you prefer. it should be your top layer of the psd & you'll start with something like the image on the left. then you'll add a layer mask while selecting your text layer (the white rectangle with a cut-out circle in the middle at the bottom), your layer panel should now look like the image on the right.

now it's time to paint your layer mask! depending on the intricacy of the mask, i'll mess with the diameter/size of the brush but otherwise i typically use around 70% hardness as my settings. using the black brush (while selecting the layer mask as shown above) you'll want to "erase" aka mask the part of the text that is on top of peter's face since we're having his head movement "reveal" the text. if you need to see what you're painting the shortcut to make the layer mask visible to you is "shift+\" (for mac at least lmao). i included my mask settings as well - granted this is just for text layers. i use ~30px for the feathering when i’m masking for any kind of overlays/coloring/etc.

once you've got your layer mask painted & primed you're ready to get to the fun (read: more time-intensive) part. the next step will be crucial to the process, if you don't do it or forget to, it'll quite literally never work & instead just frustrate the hell out of you. you've got to unlock the layer mask from the layer itself. as in, see that little chain link in between T and the layer mask box? yeah? click it!!! unlock that bitch!!! hit the jackpot!!! discover things you've always dreamed of!!! (this works for any layer mask on any layer btw, it is my secret weapon i'm obsessed i will forever unlock that bitch anyways moving on). so now you should have a painted layer mask (i chose to make it visible for the screenshot) & an unlocked layer mask (i chose to show a before & after for this), in the end your layer panel (not your timeline panel) should look like the following.

the next thing is to make that mask move with purpose. we’re going to essentially tell it where we want it to be at specific time points. when you mark those keyframes, the mask will move itself as fast or as slow as it needs to in order to get from its previous location at whatever keyframe to its new location at the next keyframe. so now we’ll be working in the timeline panel - like i said, i use video timeline, not frame animation, it’s what i taught myself ps with so outside of very very specific things, i always stick to video timeline.
you’ll want to scroll to your text layer and hit the down carrot on the far left in order to bring up a dropdown list of customizations (you’ll notice there’s a lot of others things you can make text do - like change the warp aka wiggle or change the style aka seamlessly morph to a different color). we’re focusing on the “layer mask position” (which folks if you’re following along, is also how you you can make your coloring stay in the background even if your subject moves significantly in the foreground!). i typically start at the beginning of my timeline and work my way through the gif. i’ll want the layer mask to be “visible” so i can see where it’s moving as i go.
since everything should be prepped correctly and in the right spot, you’ll start by hitting that little diamond to the left of “layer mask position” and a new point should pop up on your timeline to the right - that indicates where the layer mask is on the overall canvas. now, take your time cursor bar thing and move it along the timeline to see your gif (and peter’s head position) progress. depending on the amount of movement you may only have a few keyframe points needed or you may have a lot (similar to this particular gif). anytime there is significant movement, you will need to move your layer mask which will automatically create a new keyframe. this means you need to have your move tool (shift+v) on and layer mask square selected. placing of keyframes does take some practice, you’ll get the hang of how fast it takes the mask to move to a certain place & not necessarily need a keyframe at every. single. frame. that would be exhausting. sometimes for jerkier movements you’ll need to be more exact, and other times you can let the gif do the work and have the mask glide into position in time with peter’s head (or whatever is revealing/hiding your text layer).

essentially the point is this: scroll to the next pertinent position on your gif. ensure your layer mask is selected & you’re using the move tool. move just the layer mask to where it needs to go. a new diamond point should appear on the timeline signaling a new keyframe for the layer mask’s position. rinse, repeat until you’ve made it through the entire gif. then you get to “hide” the layer mask again with shift+\ and play your gif through to see how you did lol. see if the text reveal is smooth or if there’s parts that go too fast, too slow, or are off in terms of what it hides where.
you can click and drag your diamond points if need be as well! they aren’t set in stone if it’s easiest to adjust that way. typically ps will also “show” how the mask is moving if you slowly drag your timeline cursor along and have the mask visible, sometimes that can be helpful when fine-tuning your mask position.
i think that’s that! hopefully this made enough sense & wasn’t too rambly or like just plain nonsense. i wasn’t sure your ps level anon so i tried to explain every step, please do not take offense if you knew half of this already!! feel free to send follow-up questions, or if you see something else you’re curious about (not that i think i’m like. the shit at ps & gif-making lmao. i’m not. but i’m happy to help if i can!)
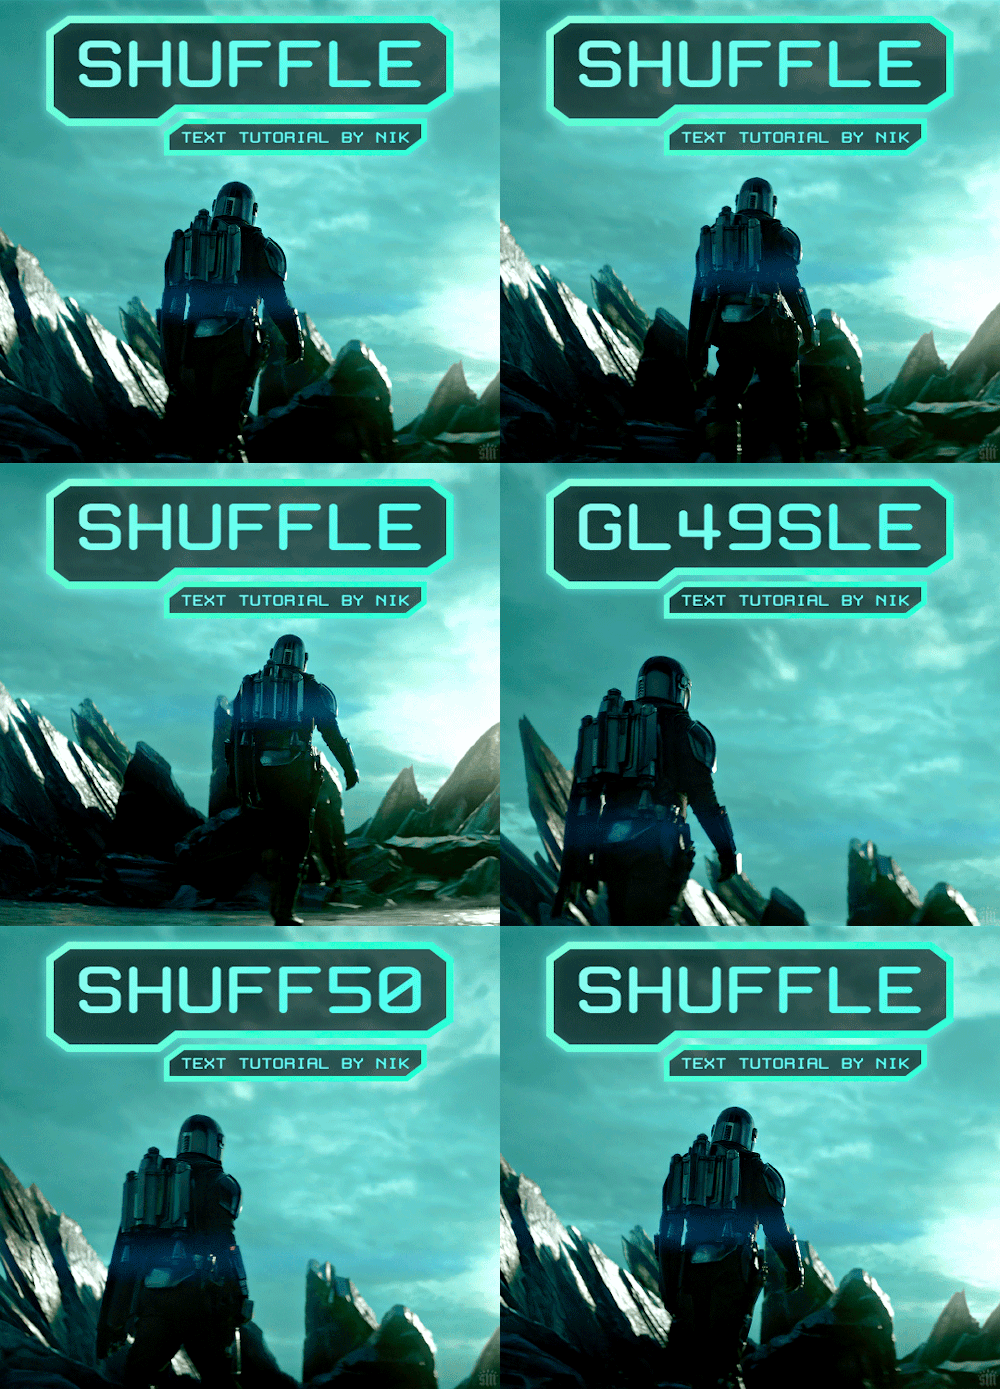
HOW TO: Shuffle Text Effect
A long while back someone asked me for a tutorial on the text effects in this set and this set, and a friend recently asked me how I did my url change gif. So, I’m finally doing a tutorial! Disclaimer: This tutorial assumes you have a basic understanding of gif-making in Photoshop. I’ll be demonstrating this effect using Video Timeline, but it’s definitely possible to replicate in Frame Animation!
Keep reading
Hi! Would it be possible to post a tutorial of how you created the text in this post /post/707087448305451008/removing-yellow-tint-on-photopea-heyyyyyy thank you :)

💜 TYPOGRAPHY TUTORIAL (PHOTOPEA EDITION) 💜
Hi anon! It's really easy! here's how i do it! <3 as always, basic gifmaking knowledge is required. feel free to ask if you have more questions <3
tutorial below the cut 💜
i. prep-work & coloring
You write out your text as normal in white, then you change the blend mode to exclusion

right-click on your text layer, and click on blending options to open the layer style window. Tick the color overlay box and click on the tab. there you'll be able to change the overlay color and the blend mode (i used pin light for this, but you might have to play around with the color and blend modes to find the one best for your gif)

(i also added a background color to match the text)
at this point you'll also want to add drop shadow to make the text readable. i usually turn down the distance to 0 and keep the rest of the settings as is, except maybe increase the opacity (which i didn't do here bc i'm laaaaazyyy)

ii. wobbly text
okay! so now the coloring bit is done. double-click on the white square on your text layer to select all of your text. on the top of the page you'll see options to change font, text size etc (idk what this is called but you know what it is). you'll need to click on the box that says wrap


click on style > flag, and then you'll be able to adjust how "wobbly" you want the text to be (in this example the bend is at 40%)

press okay and you're done! hooray!
iii. white outline
the last step is to add a line to make the text pop even more. first, create a new blank layer
right-click on your text layer and click on select pixels. click on the blank layer you just created. then you go to edit > stroke. these are the settings i use.

after pressing ok, you'll now have a white outline around your text. move the outline layer around until you're happy

this is how it looks when it's done!
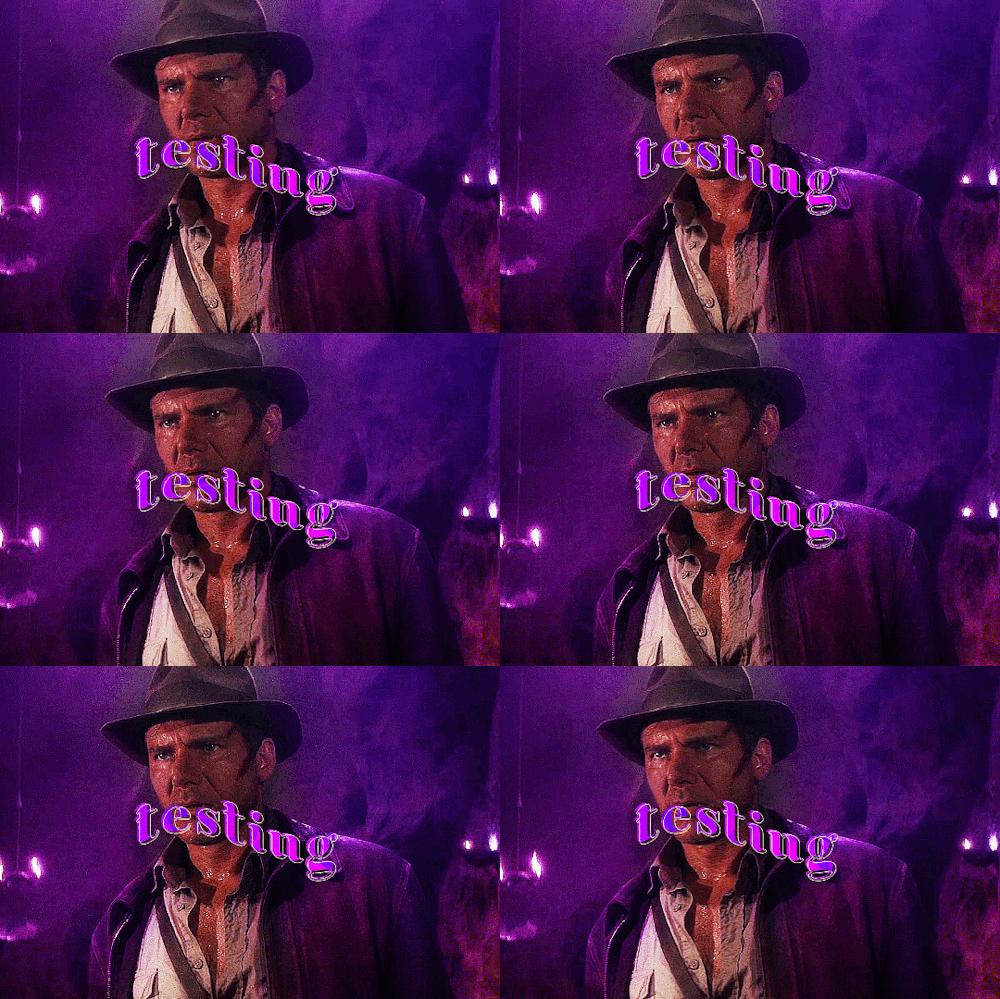
really not my best work but :P this scene is meant for a different gifset but i kinda like this coloring lol hope this answers your question!